Migrate Your Android App To Gradle Version Catalogs

As an Android developer, you know that keeping track of dependencies and their versions can be a challenging task. With each new version, libraries can introduce breaking changes, and it can be difficult to ensure that your project stays up-to-date with the latest updates across all of your application's modules.
One solution to this problem is to use a version catalog. A version catalog is a file that defines the versions of your project's dependencies, making it easier to manage and update them. In this blog post, we'll take a look at how to migrate an Android project to using a version catalog.
Step 1: Create a Version Catalog
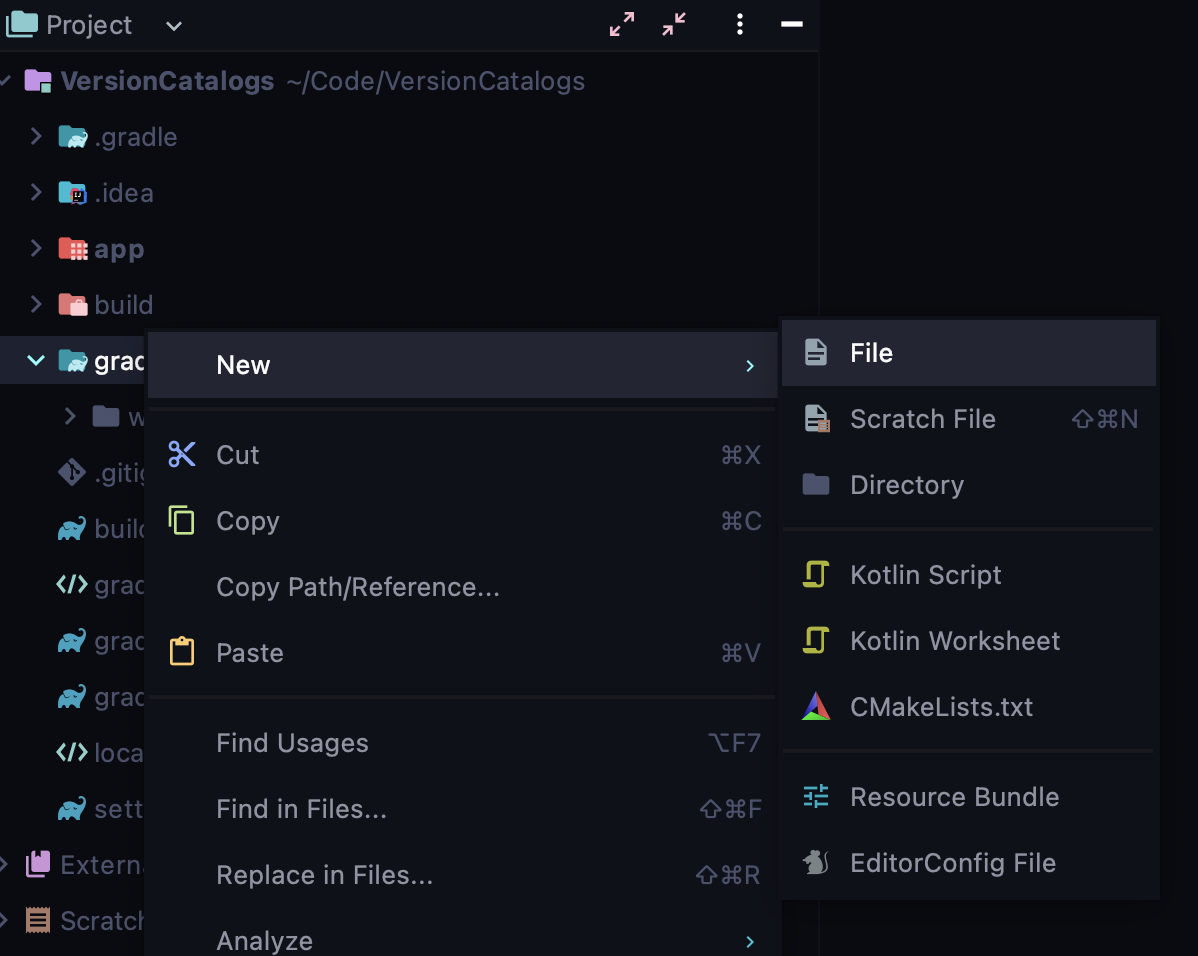
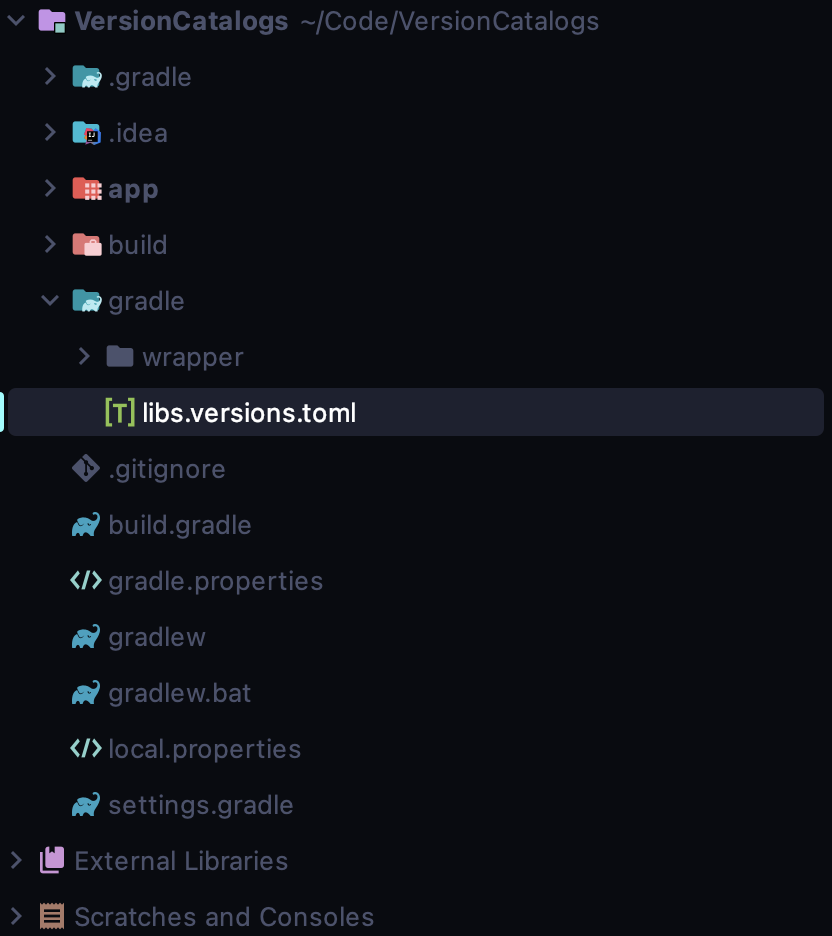
The first step in migrating your Android project to use a version catalog is to create the catalog file. The version catalog is a simple TOML (more info about TOML files can be found here) file that lists the dependencies and their respective versions. You can create the file manually by right-clicking on your gradle folder and selecting New -> File and adding libs.versions.toml. It is possible to change the catalog file name, however, this requires changing your build files so it is not recommended at the current time.
Step 2: Adding dependencies to the .toml file
In your libs.versions.toml file, add these sections:
[versions]

[libraries]

[plugins]
We will be migrating the following dependency to being defined in the version catalog.

This can be defined in the .toml file by adding a version and a library like so:
[versions]
core-ktx = "1.10.0"

[libraries]
androidx-core-ktx = { group = "androidx.core", name = "core-ktx", version.ref = "core-ktx" }

[plugins]
Step 3: Use the Version Catalog in Your Dependencies
Finally, you need to update your project's dependencies to use the version catalog. You can do this by replacing the first line with a reference to the version catalog. For example:
implementation 'androidx.core:core-ktx:1.10.0'
can be replaced with:
implementation(libs.androidx.core.ktx)
Step 5: Plugins
In the root build.gradle file of your project, numerous plugins are defined. Using a version catalog also allows you to define these plugin versions as well.

First, you will add the plugin versions and definitions to the .toml file.
[versions]
core-ktx = "1.10.0"

# Plugin versions
androidGradlePlugin = "7.4.2"
kotlin = "1.8.0"

[libraries]
androidx-core-ktx = { group = "androidx.core", name = "core-ktx", version.ref = "core-ktx" }

[plugins]
android-application = { id = "com.android.application", version.ref = "androidGradlePlugin" }
android-library = { id = "com.android.library", version.ref = "androidGradlePlugin" }
kotlin-android = { id = "org.jetbrains.kotlin.android", version.ref = "kotlin" }
Then, you can change your root build.gradle file to use the newly defined plugins like so:
plugins {
    alias libs.plugins.android.application apply false
    alias libs.plugins.android.library apply false
    alias libs.plugins.kotlin.android apply false
}
Conclusion
By using a version catalog, you can easily manage your project's dependencies across modules and ensure that you are using the latest versions. You can update the versions in the catalog file, and have a single source of truth for versions of dependencies in your application.
In conclusion, migrating an Android project to use a version catalog is a simple process that can save you a lot of time and effort in managing your dependencies. By following the steps outlined in this blog post, you can easily migrate your project to use a version catalog and enjoy the benefits of easier dependency management.